
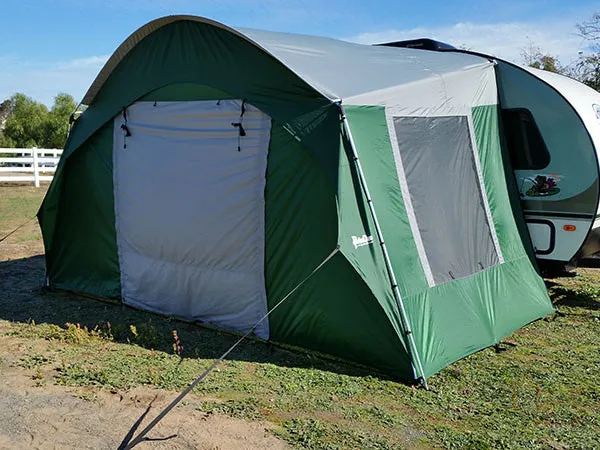
A side tent only feels roomy when the attachment line, door swing, and ground footprint agree. Use this field checklist before choosing a fit.
01
Start at the attachment line
Measure the usable rail or attachment line from end point to end point, then mark the places where trim, lights, a hatch, or a spare tire interrupts that line. The trailer's overall length is not a substitute for the surface the tent can actually use.
Photograph the rail with the tape visible and record whether the line is straight, curved, or split into sections. Those details help distinguish a close fit from a pattern that will fight the trailer.
- Measure the usable line, not the brochure length.
- Mark every fixed obstruction.
- Keep photos with the measurement sheet.
02
Map the opening and the ground
Open every door and hatch the tent must clear. Measure the highest and widest position, then leave enough room to move the door without pulling the fabric. A side tent that shades the wall but blocks the galley is not a useful fit.
On the ground, mark the footprint with stakes or painter's tape. Include guy-line space and the route people will use to enter the trailer. The footprint is part of the measurement, especially on a crowded campsite.
03
Check the packed shape
Before you order, identify where the poles, fabric, and hardware will travel. A tent that fits the trailer but cannot live in its storage space will eventually become a setup you leave behind.
Keep the measurements, photos, and trailer model together when you compare current PahaQue options. If the shape is unusual, those details make a custom-fit conversation much faster.
Keep moving the project forward
Shop trailer side tents
Find the current PahaQue gear or bring us the dimensions, failure, or awkward requirement behind your next shelter system.
Follow the threadFiled September 16, 2026 / Jeff Basford
Back to all field notes