
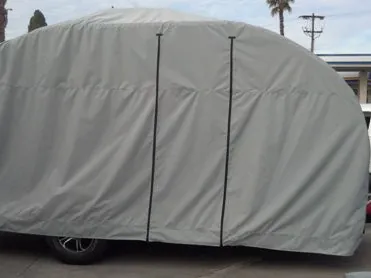
Long storage is easier on a trailer cover when the finish is clean, the fabric is dry, and wind and moisture have fewer chances to work underneath.
01
Put a clean surface under the cover
Wash road film, salt, and grit from the trailer before covering it. Abrasive dust trapped between fabric and finish can do more work over a winter than a short trip does. Let the trailer dry fully, including around trim and access doors.
Use the same inspection to find sharp corners, loose hardware, or a protruding accessory that needs a soft contact patch. Cover problems are often trailer problems in disguise.
- Remove salt and grit before covering.
- Dry around seams, trim, and access doors.
- Protect sharp contact points.
02
Give moisture a way out
A cover should protect from weather without turning the space below it into a sealed box. Keep designed vents open and avoid compressing a damp cover into storage after a test fit. Condensation needs a path to leave.
Check the cover after the first wet and cold spell. Look for pooled water, shifted straps, and places where wind is rubbing fabric against the trailer. A small adjustment early is better than a spring repair.
03
Plan the spring removal
Before the cover goes on, decide where it will dry and how it will be folded. Label straps and keep the storage bag accessible. A cover that can be removed cleanly is less likely to be dragged across the finish.
Record any fit notes with the trailer service records. The next season's setup will go faster, and a future replacement conversation can start with useful evidence instead of a guess.
Keep moving the project forward
Compare trailer covers
Find the current PahaQue gear or bring us the dimensions, failure, or awkward requirement behind your next shelter system.
Follow the threadFiled September 21, 2026 / Jeff Basford
Back to all field notes