
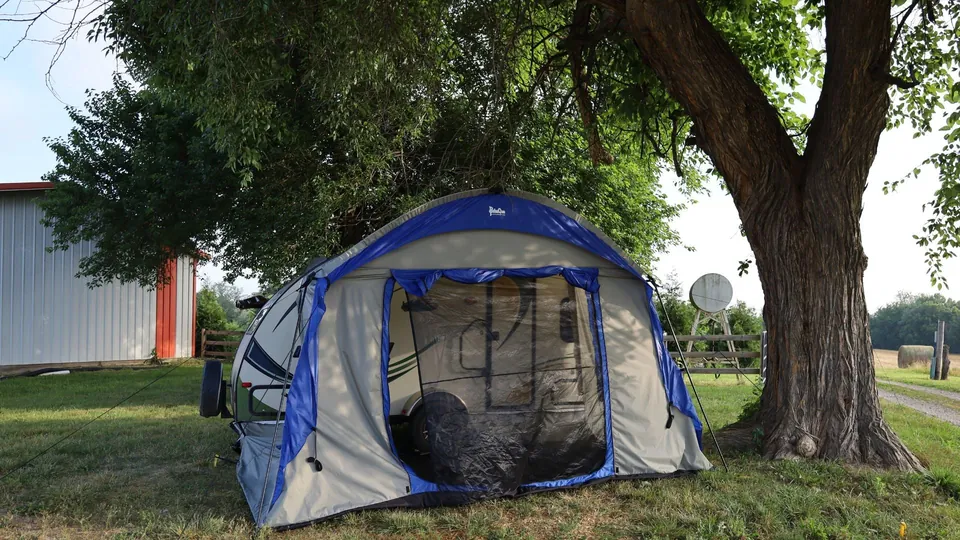
A short, repeatable setup sequence keeps a shelter taut, dry, and ready before the first chair comes out.
01
Before the first pole
Level the trailer enough that doors and zippers will behave, then open the shelter fabric and identify every attachment point. Confirm the entry direction before you commit to stakes. This is the moment to move the trailer, not after the room is half built.
Keep poles in sequence and check for cracked fiberglass. A two-minute inspection is easier than discovering a damaged section at full tension.
- Choose drainage and door clearance.
- Lay out fabric without dragging it.
- Match pole sections to their sleeves.
02
Build the structure in order
Attach the high points first, then seat the lower corners and add the remaining tension. The fabric should become smooth as the structure grows. If one corner needs a hard pull, stop and check the pole path or attachment before forcing it.
Close zippers and fasten skirts only after the main shape is stable. Small adjustments are easier when the fabric can still move.
03
Walk the perimeter
Finish by walking all the way around. Look for a sleeve twist, a loose buckle, a guy line crossing the entry, or a low point where water could sit. Then open the doors and use the shelter as you intend to use it.
Keep the checklist with the gear. Familiarity makes setup faster, but a written sequence protects the next trip when conditions are less friendly.
Keep moving the project forward
Shop trailer tents
Find the current PahaQue gear or bring us the dimensions, failure, or awkward requirement behind your next shelter system.
Follow the threadFiled February 16, 2024 / Jeff Basford
Back to all field notes